Quadrilaterals and brown trousers
This week at work, there was a discussion about games that had great vertigo inducing moments. The conversation was dominated by AAA titles from the last couple of years, such as Assassin’s Creed, Fallout 3, and especially Uncharted 2. For me though, none of them match some of the levels from Tomb Raider. Not the any of the recent games (although I do love Crystal Dynamics’ take on the series), but the original, from the now sadly defunct Core Design. You know, back when Lara steered like a tank and advertised Lucozade.
My favourite moment from the game occurs around a third of the way into St Francis’ Folly, where you run up some stairs, turn a corner and are confronted by this:
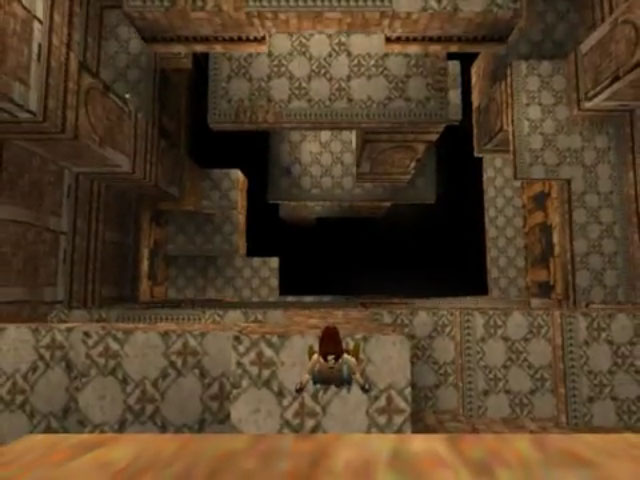
Holy shit! You can’t see the floor!
I very nearly soiled myself as a young lad when I saw that; it made such an impression on me that I still to this day dig out my copy of Tomb Raider every couple of years and play it through.
Thoughts of St. Francis’ Folly prompted me to try knocking together a simple Tomb Raider level viewer of my own. After all, the assets couldn’t be that complicated, so how hard could it be? Not hard at all as it turns out, thanks to some excellent documentation of the file format put together years ago by dedicated fans.
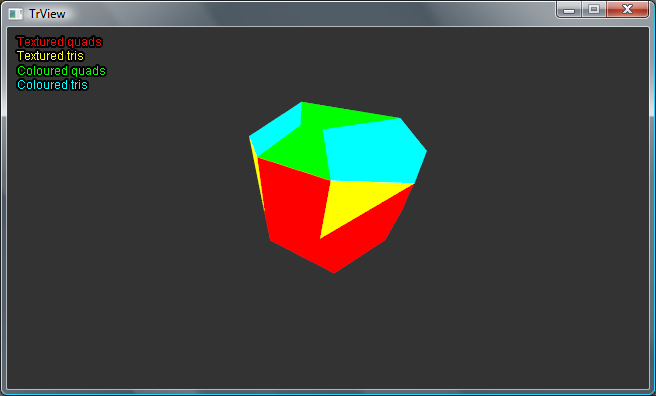
Parsing the first part of the level pack, extracting a mesh and getting it up on screen took surprisingly little time. Here it is. It certainly looks like something. Perhaps it’s a rock?
Skipping through a few more meshes that didn’t really look like anything much, I finally found something recognisable, an upside-down pistol.
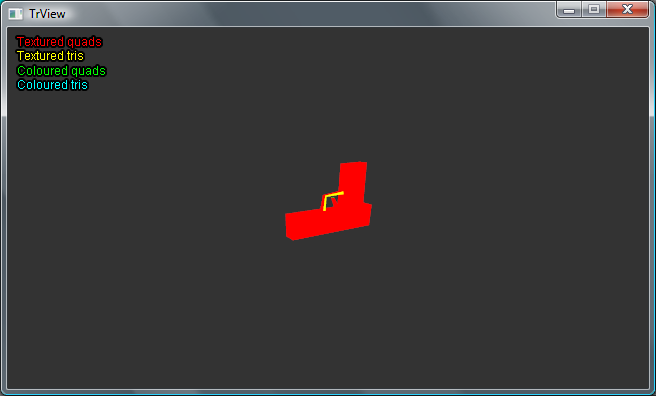
It was at this point I realised that Tomb Raider uses a slightly unusual coordinate system; X and Z form the horizontal plane, but positive Y points down. After a bit of Y flipping and winding order reversal, things looked a little better. Here’s some shotgun ammo.
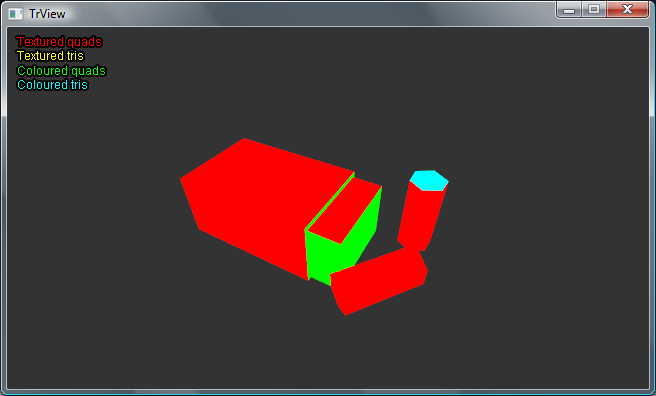
It’s interesting to see how differently meshes were put together 15 years ago; they’re made up of a mixture of textured and untextured quads and triangles, with flat shaded quads being used wherever possible. I did similar things back when I used to play with my Net Yaroze in my spare time (the embarrassing fruits of my labours have been thoughtfully uploaded by someone for posterity).
In order to make more sense out the meshes, I moved onto texture extraction. In the first Tomb Raider, one 256-entry colour palette is used for all textures in a particular level. Each level uses around ten 256 by 256 texture atlases. Here’s texture atlas #7 from level one. I’d like to draw your attention to the bottom right corner, where if you look closely, you’ll find a couple of pixelated nipples.

Anyway, after hooking up the textures and taking another look at the meshes, it turned out that the first mesh was in fact Lara’s bum.
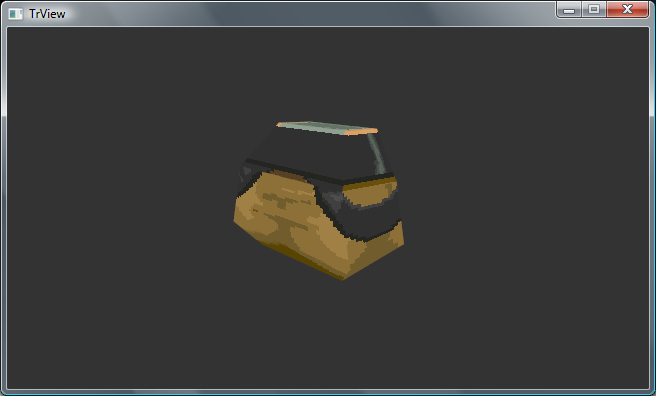
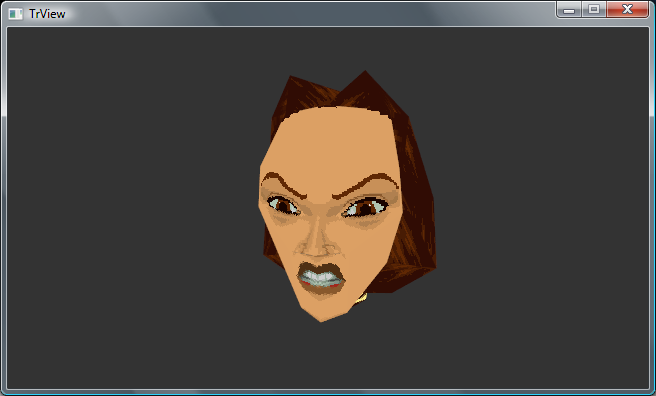
The next few meshes in the level pack are all the bits and pieces that make up Lara’s body. Skinning still wasn’t commonplace in those days, so each body part is a separate mesh. Incidentally, Lara’s forehead is much bigger than I remember.
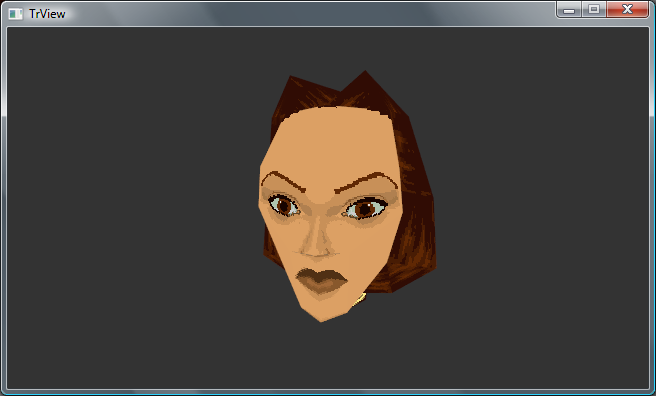
Once textured meshes were rendering correctly, it was time to move onto the world geometry. Each level in Tomb Raider is made up of a number of rooms, connected via portals. Rooms are made up of square sectors, 1024 world units in size (since everything was fixed point back then). Each sector stores only one floor height and one ceiling height, which means that if a level designer wanted to put overhangs into a level, they had to stack multiple rooms on top of each other. Given this limitation, the complexity of some of the levels in the game they managed to put together is amazing.
My first attempts at rendering a whole world were somewhat less that successful.
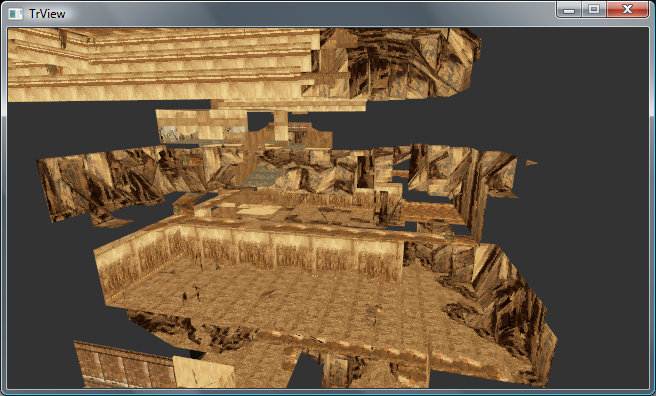
World geometry vertex positions are stored as 16bit XYZ triples, which are defined relative to a per-room origin. According to the documentation, the room positions are defined in world space, but even taking that into account I couldn’t get the rooms to fit together properly. Instead, since rooms are all connected via portals, it was easier to traverse the portal graph and stitch rooms together based on the vertex positions of the connecting portals. For the most part, this worked very well.
Update: I was two bytes off when reading the room position, the rooms line up just fine now.
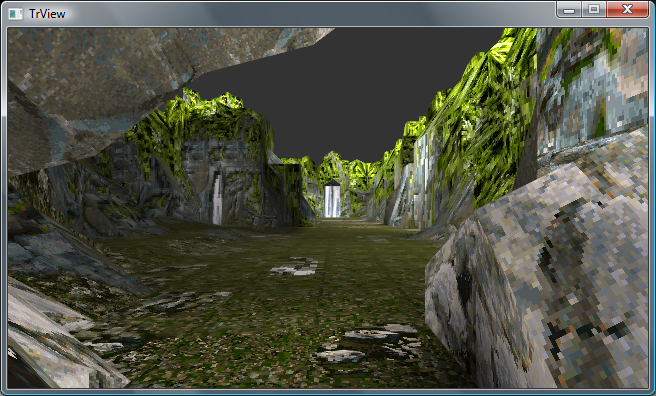
After fixing up the baked vertex lighting and adding a little depth-based fog, I had something resembling a Tomb Raider level.

Here’s The Lost Valley. Any minute now, a T-Rex is going to come stomping round the corner.
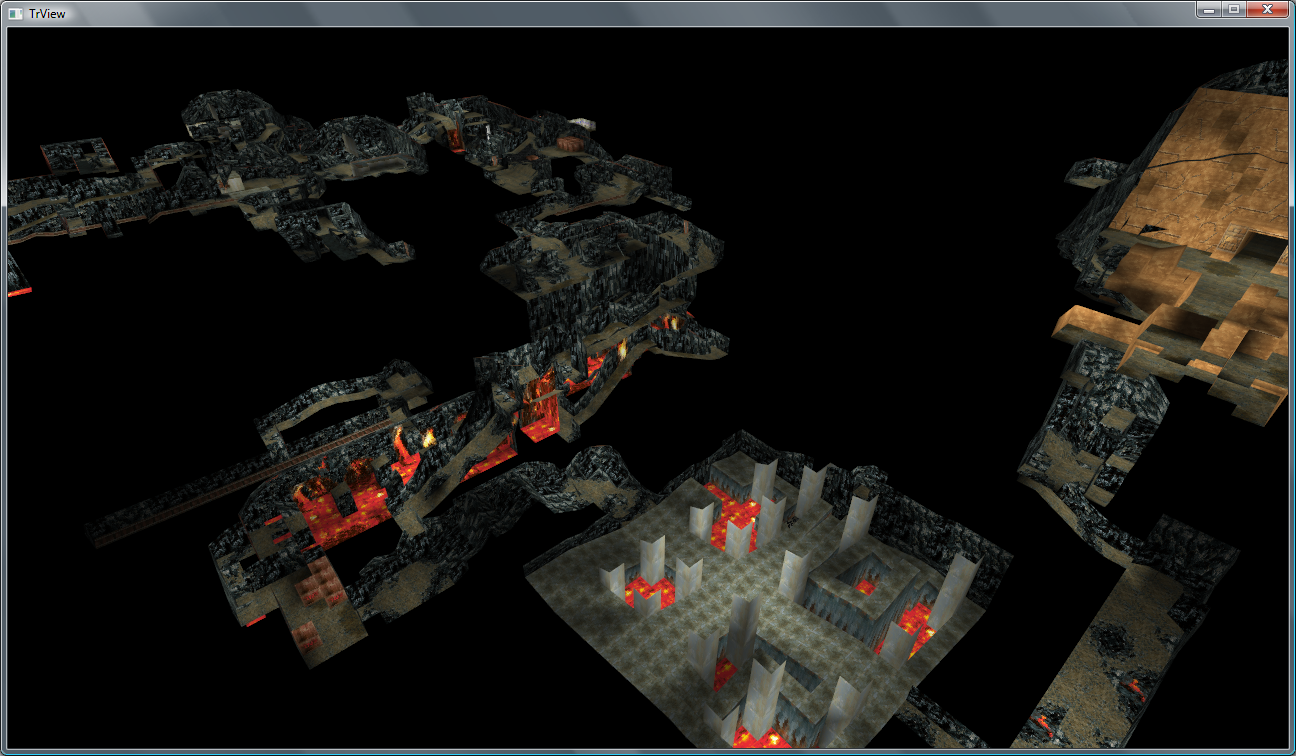
And here’s the first stage of Natla’s Mines. It’s huge!
There’s still a whole bunch of features that I could add in: sprites, static meshes, dynamic meshes, animated textures to name just a few, but I’m pretty pleased with how far it’s come with just a couple of evening’s work. So huge thanks go to those folks who figured all this out over a decade ago.
